
Why Devil’s Ivy is Your Ultimate Green Wall Companion
Devil’s ivy plants, also recognized as pothos or Epipremnum aureum, have emerged as a sought-after choice for creating magnificent green walls. In this article, we’ll unveil why devil’s ivy is your top pick for crafting a captivating vertical garden.
Harnessing Nature’s Beauty
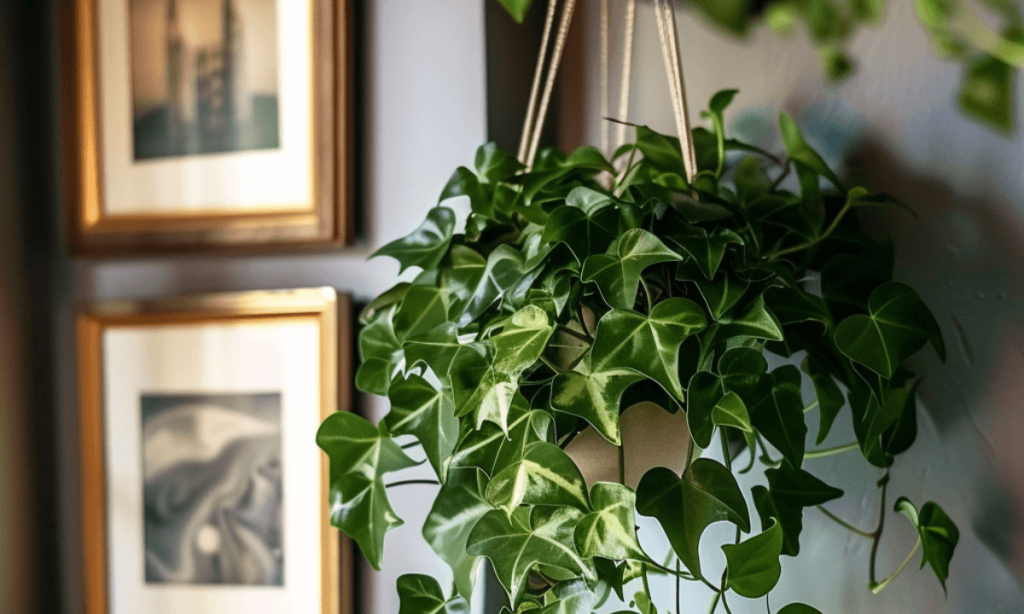
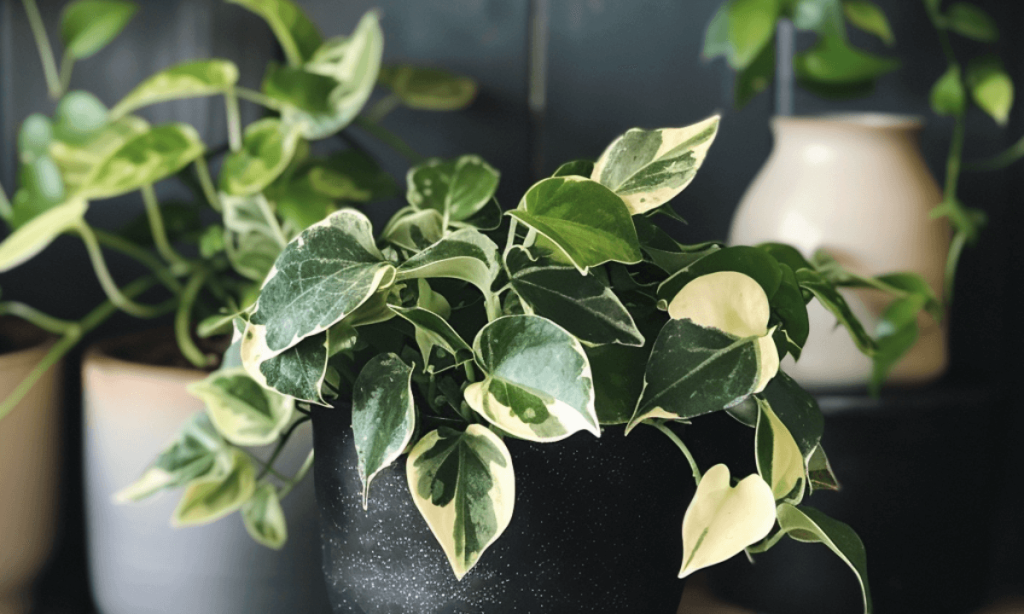
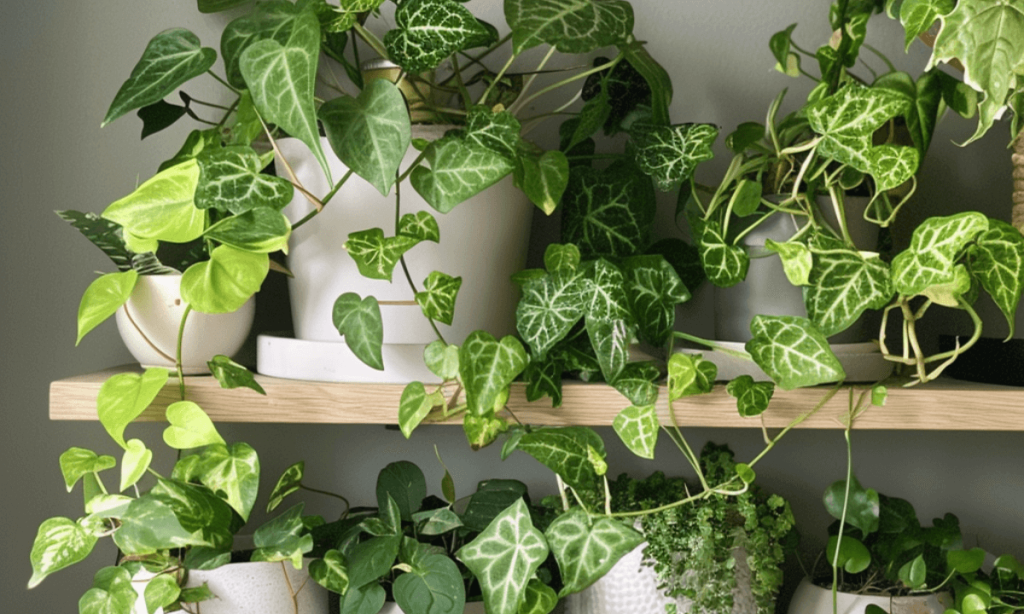
Devil’s ivy plants are distinguished by their rapid growth, trailing stems, and charming heart-shaped leaves. Their remarkable ability to swiftly spread and cascade down makes them a natural fit for establishing lush green walls that breathe life into any space.
Beyond Aesthetics: Air-Purifying Wonders
While devil’s ivy’s visual appeal is undeniable, it offers much more. These plants are natural air purifiers, effectively cleansing indoor air quality. This quality is especially advantageous for individuals seeking a fresh and healthy living or working environment.
Fascinating Insights into Devil’s Ivy
Let’s explore some captivating facts about devil’s ivy plants to spark your interest. Originating from the Solomon Islands, nestled in the South Pacific, these plants can reach astonishing lengths of up to 20 meters in their natural habitat. Their incredible growth potential has also earned them popularity in feng shui practices, believed to bring positive energy and fortune.
The Allure of a Devil’s Ivy Wall
Having a wall adorned with devil’s ivy plants offers numerous advantages. Firstly, it creates a serene and natural atmosphere, imparting tranquility and relaxation. It acts as a living tapestry, transforming an ordinary wall into a captivating focal point that enchants the eyes and revitalizes the space.
Moreover, devil’s ivy plants double up as natural air purifiers, diligently filtering out toxins and impurities from the air. This feature is particularly valuable for individuals with allergies or respiratory issues, as it significantly enhances overall air quality and contributes to a healthier indoor environment.
Crafting and Caring for Your Devil’s Ivy Wall
As you embark on your journey to cultivate a devil’s ivy wall, certain essential aspects deserve your attention. We’ll guide you through each step, ensuring your green masterpiece thrives over time.
1. Selecting the Perfect Spot
Choosing the ideal location for your green wall is paramount. Ensure it receives the right amount of sunlight and is free from drafts that could stress your devil’s ivy.
2. Opting for the Right Planters
Select planters that facilitate growth and enhance aesthetics. Consider wall-mounted planters or hanging baskets for an enchanting display.
3. Planting and Nurturing Your Devil’s Ivy
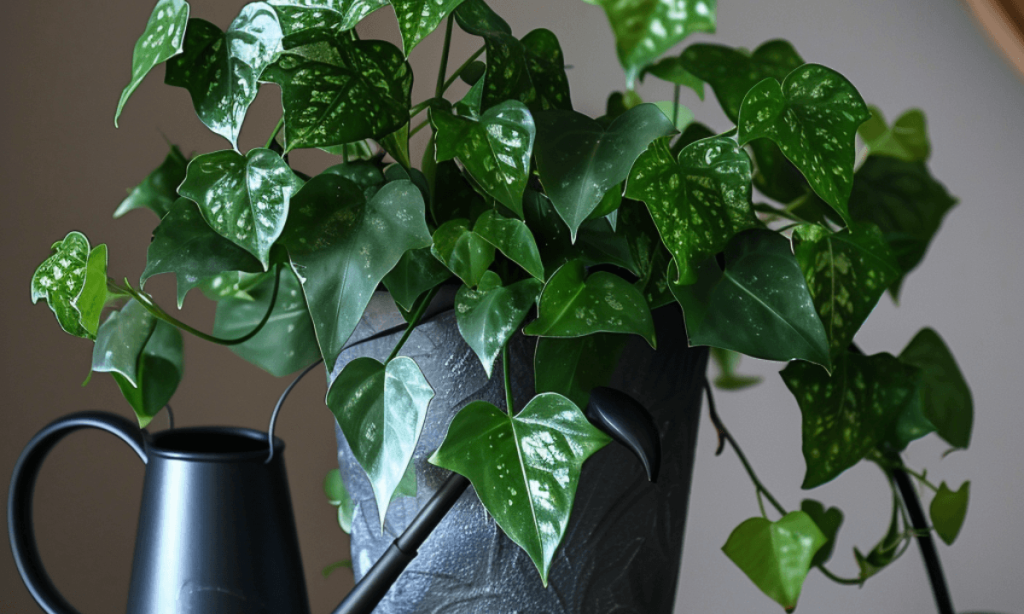
When planting your devil’s ivy, provide well-draining soil and maintain consistent moisture levels. Prune regularly to encourage healthy growth.
4. Long-Term Maintenance Tips
Ensure your green wall flourishes by monitoring its health. Keep an eye on watering needs, provide occasional fertilization, and check for signs of pests or diseases.
Conclusion
By cultivating and nurturing a devil’s ivy wall, you’ll transform your space into a living oasis radiating natural beauty, positive energy, and cleaner air. Embrace the enchantment of nature within your surroundings.
FAQs (Frequently Asked Questions)
Q1. Can devil’s ivy thrive in low-light conditions? Yes, devil’s ivy is adaptable and can grow in low-light settings, although growth may be slower.
Q2. How often should I water my devil’s ivy wall? Water when the top inch of soil is dry; it depends on factors like humidity and temperature.
Q3. Do devil’s ivy plants need fertilization? They can benefit from occasional fertilization during the growing season.
Selecting the Right Spot
Selecting the perfect spot for your devil’s ivy green wall is essential for ensuring your plants’ health and vitality. Here are key considerations to help you choose the right location:
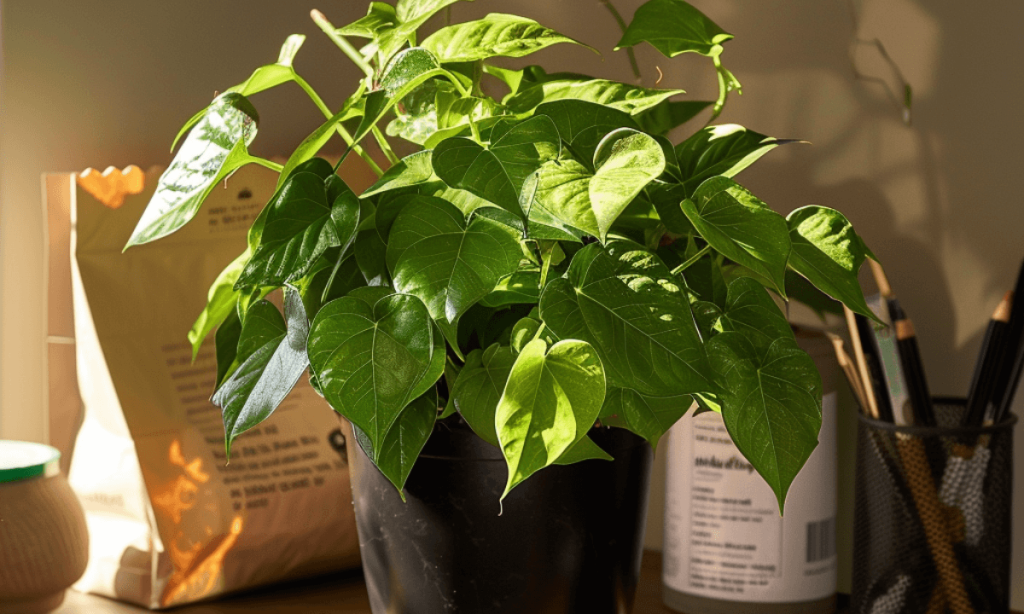
1. Light Requirements: Devil’s ivy thrives in bright, indirect light. While it can tolerate lower light conditions, it’s best to provide ample natural light. Assess the room’s natural light levels and direction before deciding on a spot.
2. Humidity: Devil’s ivy prefers a warm and humid environment. Opt for a room with moderate to high humidity. If needed, use a humidifier or place a tray of water nearby to increase moisture.
3. Temperature and Airflow: Maintain a temperature between 60-85 degrees Fahrenheit. Avoid exposing the plants to extreme temperatures or drafts, which can harm them.
Tips for the Right Environment:
- Light: A north-facing window often provides suitable indirect light. Avoid direct sunlight.
- Humidity: Use a humidifier or a water-filled tray near the plants to increase humidity.
- Temperature: Keep the room within the recommended temperature range.
Troubleshooting Common Issues:
- Low Light: Supplement with artificial light sources like grow lights.
- Direct Sunlight: Use sheer curtains to filter intense sunlight.
- Low Humidity: Create a DIY humidity tray with pebbles and water beneath the planters.
Exploring Alternatives:
- Artificial Light: Consider using grow lights if natural light is insufficient.
- DIY Humidity Tray: Create a humidity tray for added moisture.
- Change Location: If necessary, move the plants to a more suitable room.
By considering these factors and making adjustments, you can create an optimal environment for your devil’s ivy green wall, ensuring its long-term health and beauty. Stay tuned for the next sections, where we discuss selecting planters, planting and care, and long-term maintenance.
Choosing the Right Planters
Selecting the right planters for your devil’s ivy is crucial for their health and growth. Here’s why it matters and how to make the best choices:
Importance of Planter Selection:
- Well-Draining Soil: Devil’s ivy thrives in well-draining soil to avoid waterlogging and root rot. Proper drainage is essential to prevent root damage and diseases.
Choosing the Right Planters:
Consider these factors when selecting planters for your devil’s ivy:
- Size: Pick a planter size that matches the plant’s size and soil needs. A too-small planter limits root growth, while a too-large one can trap excess moisture.
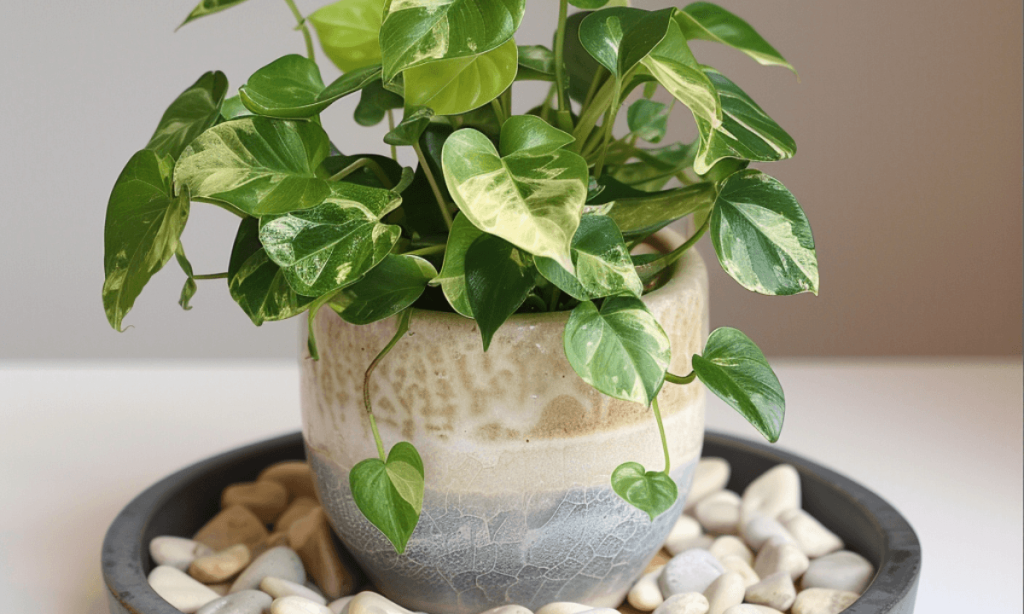
- Material: Plastic or ceramic planters are ideal. They retain moisture and are lightweight and durable.
- Drainage: Ensure the planters have drainage holes. If not, you can add holes or use a liner with drainage.
Selecting the Right Soil:
The choice of soil is equally important:
- Well-Draining Mix: Use a well-draining mix of soil, perlite, and peat moss in a 2:1:1 ratio. This provides drainage while retaining some moisture.
- Organic Matter: Incorporate organic matter like peat moss or coconut coir for moisture retention and nutrients.
- Slow-Release Fertilizer: Add slow-release fertilizer pellets following label instructions for healthy growth.
Planting Your Devil’s Ivy:
Follow these steps for planting:
- Carefully remove the plant from its current pot, loosening the roots without causing damage.
- Create a soil foundation at the bottom of the new planter.
- Position the devil’s ivy in the center, ensuring the top of the root ball is level with or slightly above the planter’s rim.
- Fill the remaining space with soil, gently pressing to secure the plant. Avoid compacting the soil too tightly.
Alternative Planting Methods:
- Hanging Baskets: Consider hanging devil’s ivy in baskets with proper drainage for graceful trailing.
- Vertical Wall: Attach plants to a wire or mesh backing for a unique vertical wall display.
Additionally, hydroponics can be explored as another planting method for your devil’s ivy.
By carefully considering these factors and planting methods, you can provide an optimal environment for your devil’s ivy’s growth and health.
Maintaining and Caring for Your Devil’s Ivy Wall
Maintaining and caring for your devil’s ivy wall is crucial for healthy growth and longevity. Let’s explore key aspects of keeping your devil’s ivy wall in top shape:
1. Proper Watering and Fertilizing:
- Water when the soil feels dry to the touch, but avoid overwatering to prevent root rot.
- Ensure well-draining soil and proper planter drainage.
- Fertilize every 2-3 months with a balanced fertilizer following label instructions.
2. Pruning and Training:
- Trim leggy or straggly growth for a fuller appearance.
- Train vines to grow along walls or trellises using ties or fishing line for structure.
3. Troubleshooting Common Issues:
- Address yellow or brown leaves by adjusting watering and checking for pests.
- Treat sticky leaves or white powdery substance promptly, indicating pests or fungal disease.
- Maintain variegation and prevent leggy growth with adequate lighting and fertilization.
4. Propagation:
- Expand your devil’s ivy wall through stem cuttings.
- Root cuttings in water or soil with rooting hormone and transplant once roots develop.
5. Additional Tips:
- Rotate plants for even growth and light exposure.
- Monitor and address signs of pests or diseases promptly.
- Enjoy improved air quality and ambiance with indoor plants.
By following these maintenance and care practices, your devil’s ivy wall will thrive, providing a beautiful and vibrant green display for years to come.
Creative Design and Display Options
As a plant enthusiast, I understand the desire to explore creative ways to display your devil’s ivy wall. Let’s discuss some ideas and tips to help you create a stunning and unique presentation:
1. Hanging Planters: Elevate your devil’s ivy wall by using macrame hangers, wooden or metal baskets, or other hanging containers. This creates a cascading effect as the ivy plants drape down.
2. Living Wall Systems: Consider innovative modular systems like hydroponic wall systems or planter panel systems to grow your ivy vertically, saving space and adding a modern touch.
3. Trellises: Incorporate wooden or metal trellises to add structure and support for the ivy vines, resulting in an organized and visually appealing display.
4. Mason Jars or Glass Bottles: Plant small devil’s ivy cuttings in individual mason jars or glass bottles for a charming and unique addition to your wall.
When adding other plants and decor elements to your devil’s ivy wall, consider the following:
- Mix in other trailing plants or succulents to create a diverse and dynamic display, enhancing texture and color variation.
- Include natural elements like driftwood, stones, or seashells to complement the greenery and infuse a touch of nature indoors.
- Enhance the aesthetic with decorative or string lighting, especially in the evenings, to illuminate the beauty of your devil’s ivy wall.
For the health and growth of your devil’s ivy plants, choose the right location and lighting:
- Devil’s ivy thrives in bright, indirect light, so select a spot with ample natural light throughout the day.
- Avoid direct sunlight to prevent leaf burn and damage.
- If natural light is lacking, supplement with artificial lighting like grow lights to support growth.
To maintain the visual appeal of your devil’s ivy wall, follow these guidelines:
- Regularly prune the plants to encourage fullness and lush growth, trimming back any leggy or straggly vines.
- Promptly remove dead or yellowing leaves to preserve the overall visual impact.
- Keep the wall clean and dust-free by gently wiping the leaves with a damp cloth as needed, ensuring vibrant and healthy plants.
Lastly, inspire others to unleash their creativity and share their devil’s ivy wall creations on social media or with loved ones. Encourage them to embrace the process of incorporating devil’s ivy plants into their home decor.
Benefits of Devil’s Ivy Plants as a Living Wall
As someone passionate about plants, I recognize the numerous advantages that devil’s ivy plants offer as indoor greenery and living walls. Let’s delve into these benefits:
1. Low Maintenance and Easy Care: Devil’s ivy plants are an ideal choice for beginners and busy individuals. They demand minimal attention and thrive with basic care, making them a hassle-free addition to indoor gardens.
2. Air Purification: Devil’s ivy is renowned for its air-purifying abilities. These plants actively filter out harmful toxins like formaldehyde, benzene, and xylene, commonly found in household products and building materials. This quality significantly enhances indoor air quality, creating a healthier living or working environment.
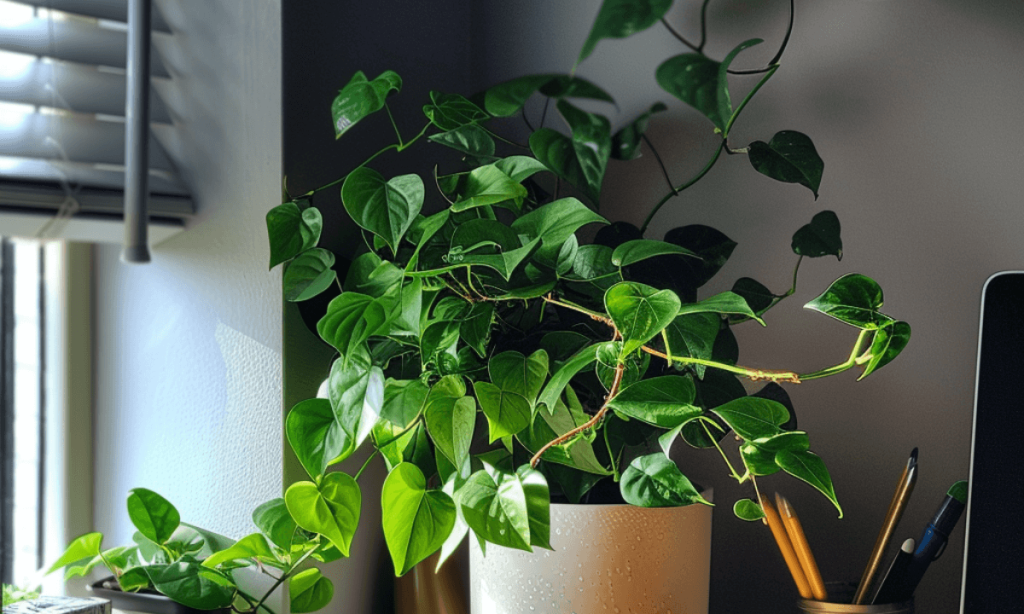
3. Versatile in Design: Devil’s ivy plants are incredibly versatile and adaptable. They can be cultivated in various containers, such as hanging planters, living wall systems, or trellises. This adaptability allows homeowners and office occupants to incorporate greenery into their spaces according to their design preferences.
4. Stunning Living Walls: When grown as a living wall, devil’s ivy plants form a captivating display with their cascading foliage. The lush green vines and heart-shaped leaves create a visually striking feature that adds depth and vibrancy to any room.
To fully harness the air-purifying potential of devil’s ivy plants, consider these tips:
- Group multiple plants together in a small space to intensify their air-purifying effects. This clustering enhances the collective capacity to remove indoor pollutants efficiently.
- Strategically place devil’s ivy plants in areas with elevated levels of indoor air pollution, such as near printers, in smoking areas, or spaces where chemicals are regularly used. This targeted placement addresses specific areas requiring air quality improvement.
- Ensure proper maintenance and care for your devil’s ivy plants. Healthy, thriving plants are more effective at purifying the air. Regularly inspect them for signs of pests, diseases, or nutrient deficiencies, and address any issues promptly to maintain their maximum air-purifying potential.
Encourage readers to consider the wide array of benefits that devil’s ivy plants bring to the table when contemplating living walls or introducing indoor plants into their surroundings. Inspire them to explore diverse containers, display options, and creative ideas to enhance the visual appeal of their devil’s ivy installations. By embracing these versatile plants, individuals can relish the beauty, health advantages, and aesthetic charm they infuse into indoor spaces.
Propagating Devil’s Ivy Plants and Maintaining a Thriving Wall of Plants
As a plant enthusiast, I’m here to walk you through the process of propagating devil’s ivy plants. Let’s dive into the steps involved:
1. Stem Cuttings: Start by selecting a healthy parent plant. Cut a 4-6 inch stem from it, making sure it has several leaves. Remove the leaves from the lower half of the stem. Place this cutting in water or soil, maintaining consistent moisture until roots begin to emerge.
2. Layering: Find a mature and healthy stem on the parent plant. Gently bend this stem to make a section touch the soil. Cover the section with soil, leaving the tip of the stem exposed. Wait for the layered section to develop roots before cutting it away from the main plant.
3. Division: Take a mature devil’s ivy plant and carefully divide it into smaller sections, ensuring each section has both roots and leaves. Plant each section in either soil or water, and keep it moist until the roots establish.
Propagation offers several benefits for creating a fuller, more lush devil’s ivy wall:
– Rapid Expansion: Propagation allows you to create multiple plants from one parent plant quickly and cost-effectively, saving you money compared to purchasing new plants.
– Enhanced Aesthetics: Propagated plants can fill gaps and improve the overall visual appeal of your devil’s ivy wall, resulting in a more attractive and complete foliage display.
To maintain a thriving devil’s ivy wall, follow these tips:
– Watering: Keep the plants well-watered, ensuring the soil remains consistently moist but not overly saturated. Overwatering can lead to root rot, so monitor soil moisture carefully.
– Fertilization: Feed the plants every 4-6 weeks with a balanced, all-purpose fertilizer to provide essential nutrients for healthy growth and overall plant vitality.
– Pruning: Regularly trim the plants to prevent leggy or excessive growth, maintaining a compact and bushy appearance.
– Pest and Disease Control: Vigilantly inspect the plants for any signs of pests or diseases. Yellowing leaves or leaf drop may indicate an issue. Address any problems promptly to prevent further harm to the plants.
I encourage readers to try their hand at propagating devil’s ivy plants and share their experiences and successes with others. By propagating and maintaining a thriving wall of devil’s ivy plants, readers can create a stunning, low-maintenance display that brings beauty and joy to their home or office for years to come.