
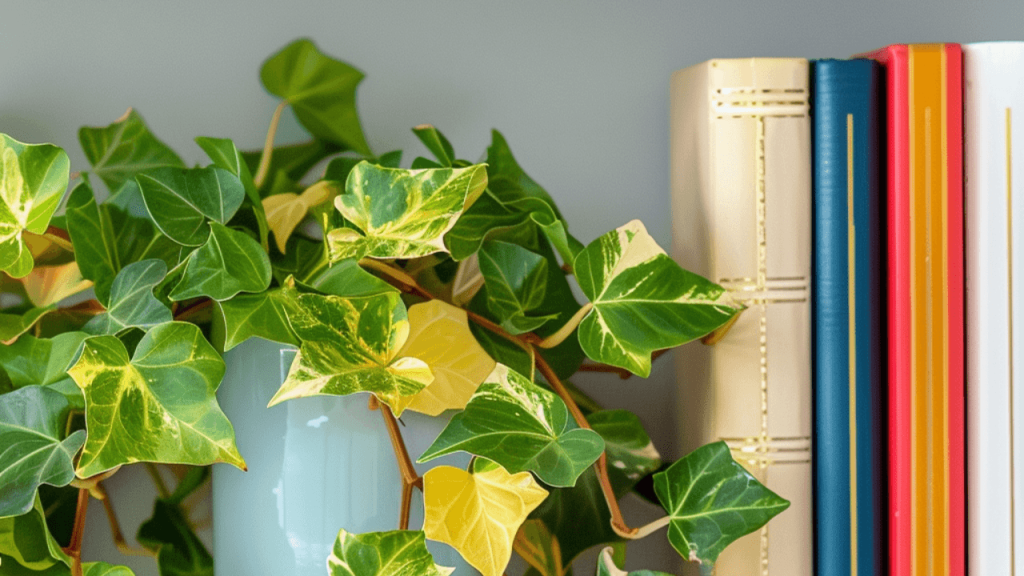
Devil’s Ivy plant (Epipremnum aureum)
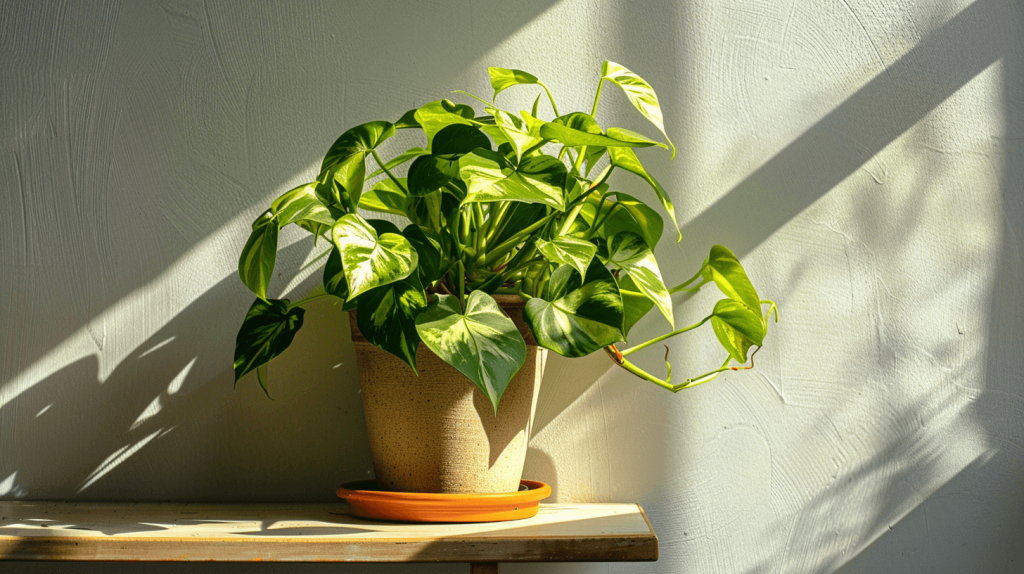
Devil’s Ivy, also known as Epipremnum aureum or Golden Pothos, is a popular houseplant valued for its variegated foliage and climbing ability. It’s ideal for hanging baskets, shelves, and trellises due to its easy care and adaptability.
Repotting Devil’s Ivy plant
Repotting Devil’s Ivy (Epipremnum aureum) is crucial for its health and growth. Over time, crowded roots can hinder its development and risk issues like waterlogging. Repotting offers fresh soil and space for root expansion, ensuring the plant’s vitality. This guide will walk you through the repotting process to maintain its vibrancy.
Signs that your Devil’s Ivy plant needs repotting
Keep a close watch on the root system of your Devil’s Ivy to see if repotting is needed. If roots are poking out of the drainage holes or if the plant shows stunted growth or yellowing leaves, it’s likely time to give it more space by repotting.
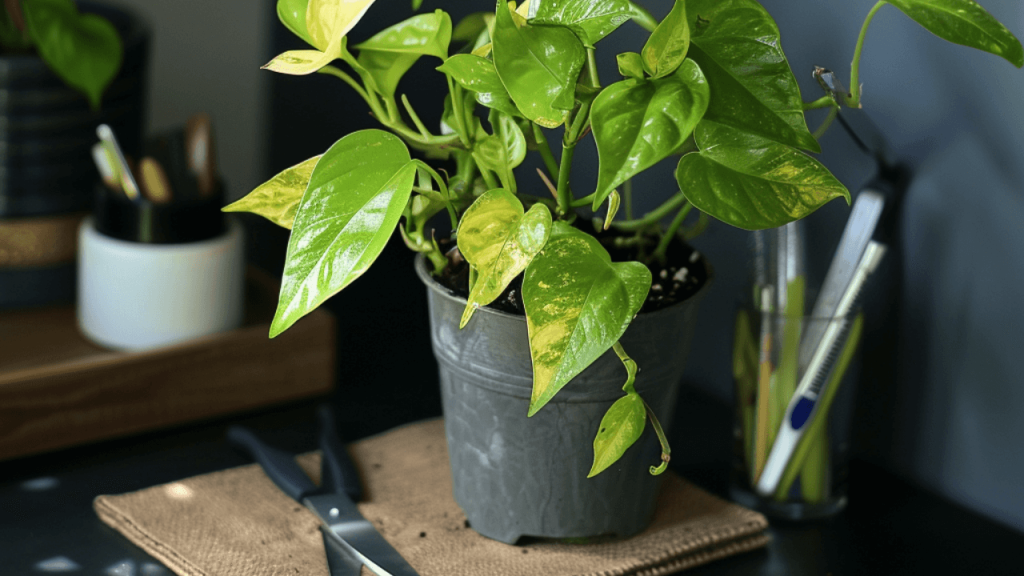
Yellowing or wilting leaves
Yellowing or wilting leaves in Devil’s Ivy may indicate root rot from overwatering or poor drainage. When repotting, inspect the roots and remove any damaged parts. Use fresh soil and a pot with proper drainage to avoid further root issues.
Stunted growth
Observing the growth of your Devil’s Ivy is crucial. Signs like stunted growth or a lack of new growth can indicate a need for repotting, as the roots might be cramped. Repotting provides fresh soil and space for the roots, promoting the plant’s health and growth.
Materials needed for repotting
Select a high-quality potting soil with good drainage and rich nutrients for your Devil’s Ivy. This ensures optimal growth and health. Quality soil offers a mix of organic matter and minerals, supporting root growth. Well-draining soil also helps prevent overwatering and root rot. Choosing the right soil is vital for your plant’s success.
A pot
When repotting Devil’s Ivy, choose a pot slightly larger than the current one for growth room. Ensure the pot has drainage holes to prevent waterlogging and potential root rot. Use a high-quality, well-draining soil rich in nutrients to support the plant’s growth.
Pruning shears
Use sharp and sterilized pruning shears when trimming dead or damaged roots or leaves from Devil’s Ivy. This prevents disease spread and ensures clean cuts. Blunt or dirty tools can harm the plant, increasing the risk of pests and diseases.
Water
Be prepared before repotting Devil’s Ivy by having water ready to moisten the soil and hydrate the plant afterwards. Proper moisture is crucial for the plant’s well-being. Having all materials on hand makes the process smoother and increases the success rate, ensuring your Devil’s Ivy thrives.
Step-by-step guide on how to repot a Devil’s Ivy plant
When repotting Devil’s Ivy, choose a pot one size larger than its current one to give the plant room to grow. Ensure the new pot has drainage holes to prevent waterlogging, which is essential to avoid root rot. The right pot choice supports the long-term health of your Devil’s Ivy.
Preparing the pot and soil
To give your Devil’s Ivy the best start in its new pot, begin by adding a layer of high-quality potting soil. Then, gently loosen the soil around the plant’s roots before removing it from its current pot. This approach minimizes root damage and helps the plant adjust to its new environment.
Removing the plant from the old pot
Gently turn the pot over and tap the bottom to loosen the Devil’s Ivy. You can also carefully detach the plant’s root system from the soil. This method minimizes root damage, making it easier to remove the plant from its current pot.
Pruning the roots and leaves
Inspect the roots and leaves of your Devil’s Ivy plant, removing any dead or damaged parts with clean, sharp pruning shears. This prevents disease spread and promotes new growth. Handle the plant gently to avoid harm to the healthy sections.
Planting the Devil’s Ivy in the new pot
Ensure the soil is firmly packed around the Devil’s Ivy root system when repotting. After removing any unhealthy parts, center the plant in the new pot, adding and pressing down the soil. A well-packed soil provides support and prevents issues like waterlogging and root rot.
Watering the plant
After repotting your Devil’s Ivy plant, water it thoroughly until water flows out from the drainage holes to stimulate root growth. Handling the plant gently during repotting prevents stress and ensures it has the resources to thrive.
Aftercare for your repotted Devil’s Ivy plant
Here’s how to care for your repotted Devil’s Ivy:
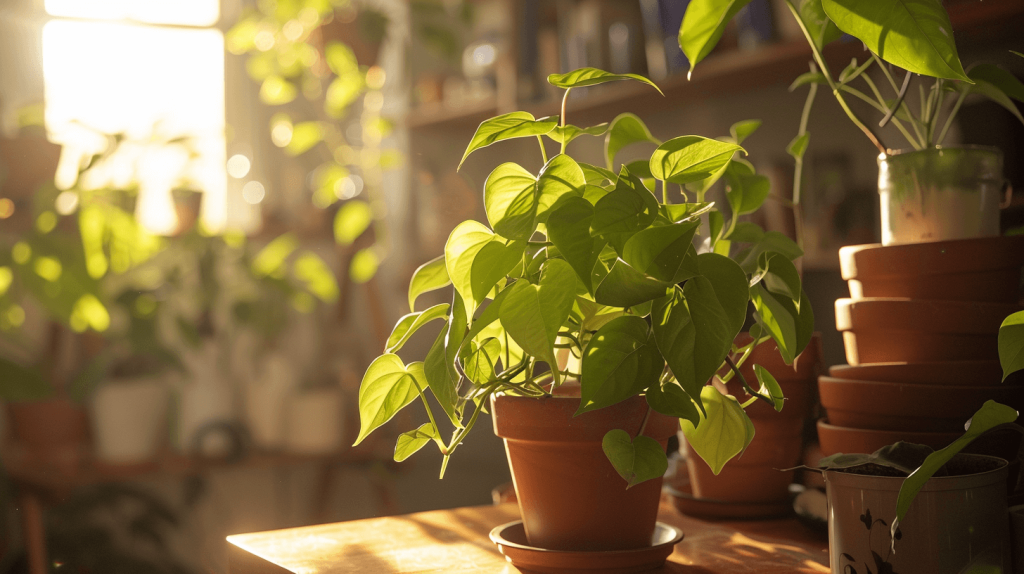
A. Position it in bright, indirect light. It thrives best in these conditions.
B. Water when the top inch of soil is dry, avoiding overwatering to prevent root rot.
C. During spring and summer, fertilize every 4-6 weeks using a balanced, water-soluble fertilizer.
D. Monitor for yellowing or wilting leaves, signaling potential issues like pests, disease, or watering problems.
E. Regularly prune to maintain shape and promote growth.
With proper attention, your Devil’s Ivy can flourish and stay vibrant for years. Regular monitoring, watering, and pruning are key.
Conclusion
Repotting Devil’s Ivy can greatly influence its health and lifespan. Signs it needs repotting include visible roots and limited growth.
Before starting, gather a larger pot, quality soil, pruning shears, and water.
After repotting, place the plant in bright, indirect light. Water when the top soil dries and fertilize every 4-6 weeks during its growing season. Regular pruning and health checks are vital.
With the right care, your Devil’s Ivy can thrive and beautify your space for years. Proper maintenance ensures its optimal health.